Designing Games with AI
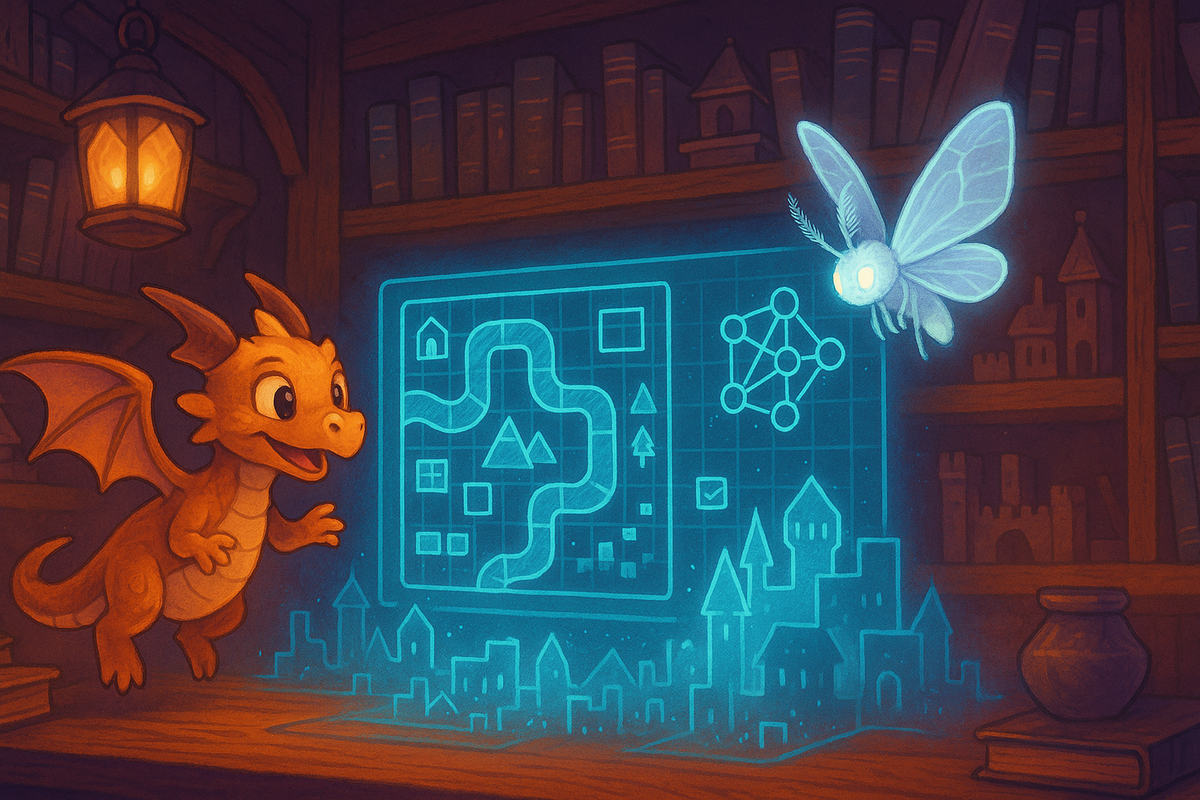
A question I've often been asked is to explain my process of designing games. I'm always a bit hesitant to answer, because my process is constantly evolving and changing. Each game is different, each team is different, and I'm always learning. For the past few years I've been learning to integrate AI into my creation process, so I thought I'd write up how I go about doing it.
First of all, I've always seen AI as a co-creator in the process. LLMs are constantly improving and adding new capabilities, but at the core I see them as a new way for computers to understand us, and the more context they have the better the output will be. If the context isn't good, the output won't be good. I often think to myself “Garbage in, garbage out,” so making sure your context is high-quality is very important. LLMs aren't always trained on the best data—many of the publicly available ones have been trained on incomplete, conflicting, or even misguided information. I caution anyone new to designing games against jumping straight into a brainstorming session with AI without the experience to interpret and understand the output. Imagine AI as a mirror of your own contributions: it can be great at sorting through information and asking questions that help you improve the quality and offer different perspectives on your work.
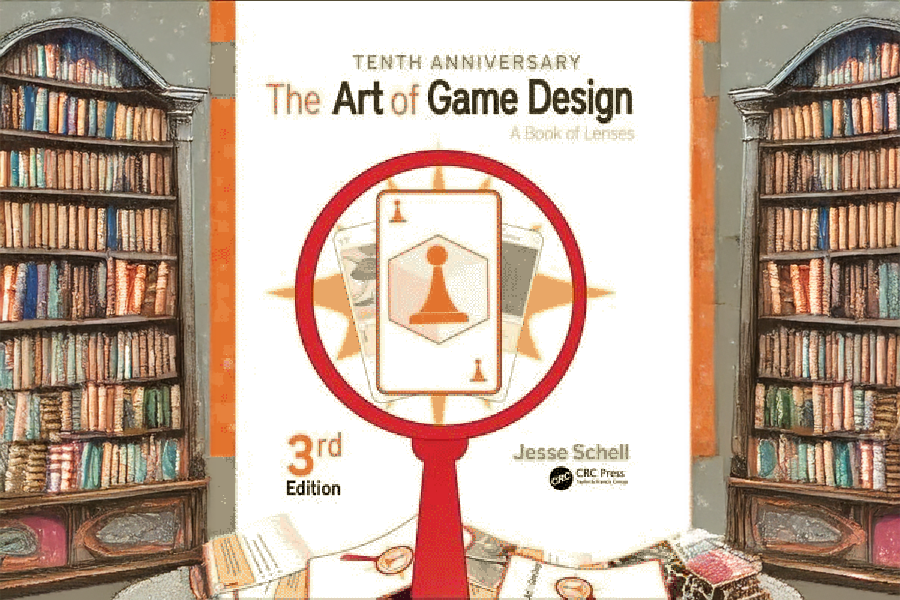
The Art of Game Design
A great place to start learning is Jesse Schell's Book of Lenses. Game design often comes down to looking at the problem from many perspectives and knowing what questions to ask.
Step 1: Define Constraints
Constraints are some of a designer’s best tools. Sometimes you have control over them; often you don't. Don't worry about having all of these figured out to begin with, but some common constraints include things like:
- Platform – Where are your players playing? Mobile, VR, Web, Console, PC?
- Player Demographics – Who are your players, and what types of games do they already play? Are you targeting a niche audience or going for mass appeal?
- Monetization Goals – How is your game going to make money (if it needs to)? Up‑front sales, crowdfunding, IAP, ads, or some other model?
- Genres & Tone – Is there a genre of games you already have in mind, and what types of experiences do you want to offer your players?
- Marketing Resources – How are you going to get people to play your game?
- Scope & Team – Who's going to be making the game? How long do you have to make it? What are their skills, abilities, and passions? The best games are made by motivated teams that are passionate about what they are building, so ask your team questions and get alignment early. It's your job to bring their unique skills together and make them shine.
- Development Tools – Are you using a game engine? What tools does it have? What can it do? Are there any new features that you want to use to make the game stand out?
- Accessibility – How can you make sure your game is available to play by a diverse audience? Sometimes a small decision from the start can enable so many to enjoy your game, and they'll be some of your biggest fans. Inclusion is important!
Not every constraint needs to be set in stone (more on that later), but I've found that understanding your limitations and targets from the start helps define the space you can design in. It also helps, when working with others, to have these well defined so everyone is on the same page. These constraints become the first piece of context you can share with AI to help inform it what you're trying to make.
Step 2: Research
Within your constraints, it's good to research what's already been done and what you might be able to add to the space. When I first got into making mobile games, the App Store had just launched, so our team often focused on finding genres we could bring into the store that didn't have a presence there yet. Bounce On was one of the first platform games on iOS, and that gave us the chance to stand out.
Play these games—first as a curious player with a fresh perspective, then analyze them and why they work. Your goal is to stand out in a crowded market and offer something new. You can also learn a lot about what other games do right and wrong. Read the reviews from players: what did they like about it, what didn't they like? Make sure to check out games that don't match every one of your constraints; this will let you learn what works and what doesn't and can help inform future designs. Don't copy—evolve.
Step 3: Brainstorm
Everyone loves this part! There are no wrong answers here, and don't let “no” stop creativity. You never know where, or when, the best ideas are going to come from. After pondering the constraints and research, I like to let my brain stew about it for as long as I can. I never know when ideas will pop into my head: sometimes I go for walks, sometimes ideas come before I fall asleep, or in the shower. Sometimes it's best to distract yourself, forget about it all, then come back with a fresh mind and see what ideas come up. Write down, or record, as much as you can. Grab some other people from the team and listen to their ideas. They might not understand all the constraints, and that might lead to some amazing ideas you've been limiting yourself from. Don't tell them no; encourage them and see where things lead. Be a sponge.
Step 4: Reconcile Ideas
This is the hardest step, and if you start doing it too early it can lead to a lot of misalignment and resentment within the team. I've found it's best to wait until after brainstorming before you start whittling down the ideas due to constraints or conflicts. Leave your ego at the table and try to come up with the core components of the game that will fit within the constraints. The simpler you can make things, the better. Sometimes you might split your ideas into three or four different ones that you explore in parallel. Be ready to explain why you might not have included a feature someone was passionate about.
Create a “1‑pager” for each of the best ideas. Share these with the team and collect feedback.
Step 5: Iterate
Once you get feedback, you’ll probably need to make changes. Start from the top again:
- Challenge your constraints – Were there some amazing ideas you or the team had that don't fit within the constraints? Revisit them and make sure they are correct. Reach out to the stakeholders and see if there is room to make changes. If your team thinks the constraints might be wrong, you can show the work of how you got there.
- Research new games – Maybe your ideas weren't as original as you thought and you discover, once you simplify things, it's too similar to something already done. Maybe during brainstorming someone mentioned a feature in another game you need to check out to understand better.
- Brainstorm again – Give yourself time to think and process everything. Revisit new ideas that opened up if you changed constraints. Ask your team about what new ideas they might have after reading the initial pitches—I guarantee they've been stewing on it too.
- Reconciliation – Try to reduce the number of ideas you have even more. If you pitched three or four ideas previously, pick two or three and focus on those. Which of the pitches brought the most attention and resonated most with the team?
Iteration can occur at any part of the game‑development process. Think of it as recursion: you might need to iterate on the entire game or just a single system or mechanic to make it right. Be careful about quickly jumping to new ideas—sometimes the best idea is simply the one you move forward with, and you can always learn and make changes along the way.
Step 6: Test for Depth
Your next goal is to prove your idea. Hopefully by now, the team has aligned behind a single idea and it's now your goal to see how far you can take it. Build out your gameplay loops and content plans. Great games allow for depth and variety. If your game is too shallow, the loops will feel too repetitive, so you need to show that the mechanics will evolve throughout the lifecycle of the game. You don't need to figure out every detail, but you can save yourself and the team a lot of time down the road by making sure the game you've designed has the ability to hold depth.
Step 7: Prototype
Prototyping is a great way to test out mechanics and “find the fun” in your game. I was once given the advice that to clean out a barn you need to “take care of the edges and the middle will take care of itself.” Focus on the hardest problems and the unknowns first. Make sure you and the team are confident in your ability to execute the game.
Be careful about expanding the scope of the prototype, and I'd strongly suggest breaking it into different parts that can be tested separately. Your goal is to help understand the challenges of bringing your ideas to life before you go into full production.
Aim for five minutes of gameplay and share the prototypes with the team to see what they think. Find some new people and get fresh perspectives on them. It's okay to have to teach them how to play or explain the game first. Go back and iterate if you need to.
Step 8: Cancel or Move Forward
This is the best time to bail out if you can't make things work. Maybe the mechanics aren't working, or the development challenges are too difficult to overcome. It's easy to think you can just keep adding depth and the game will be better, but if you can't get someone to enjoy five minutes of gameplay, they won't enjoy playing it for hours.
Step 9: Cheer the team!
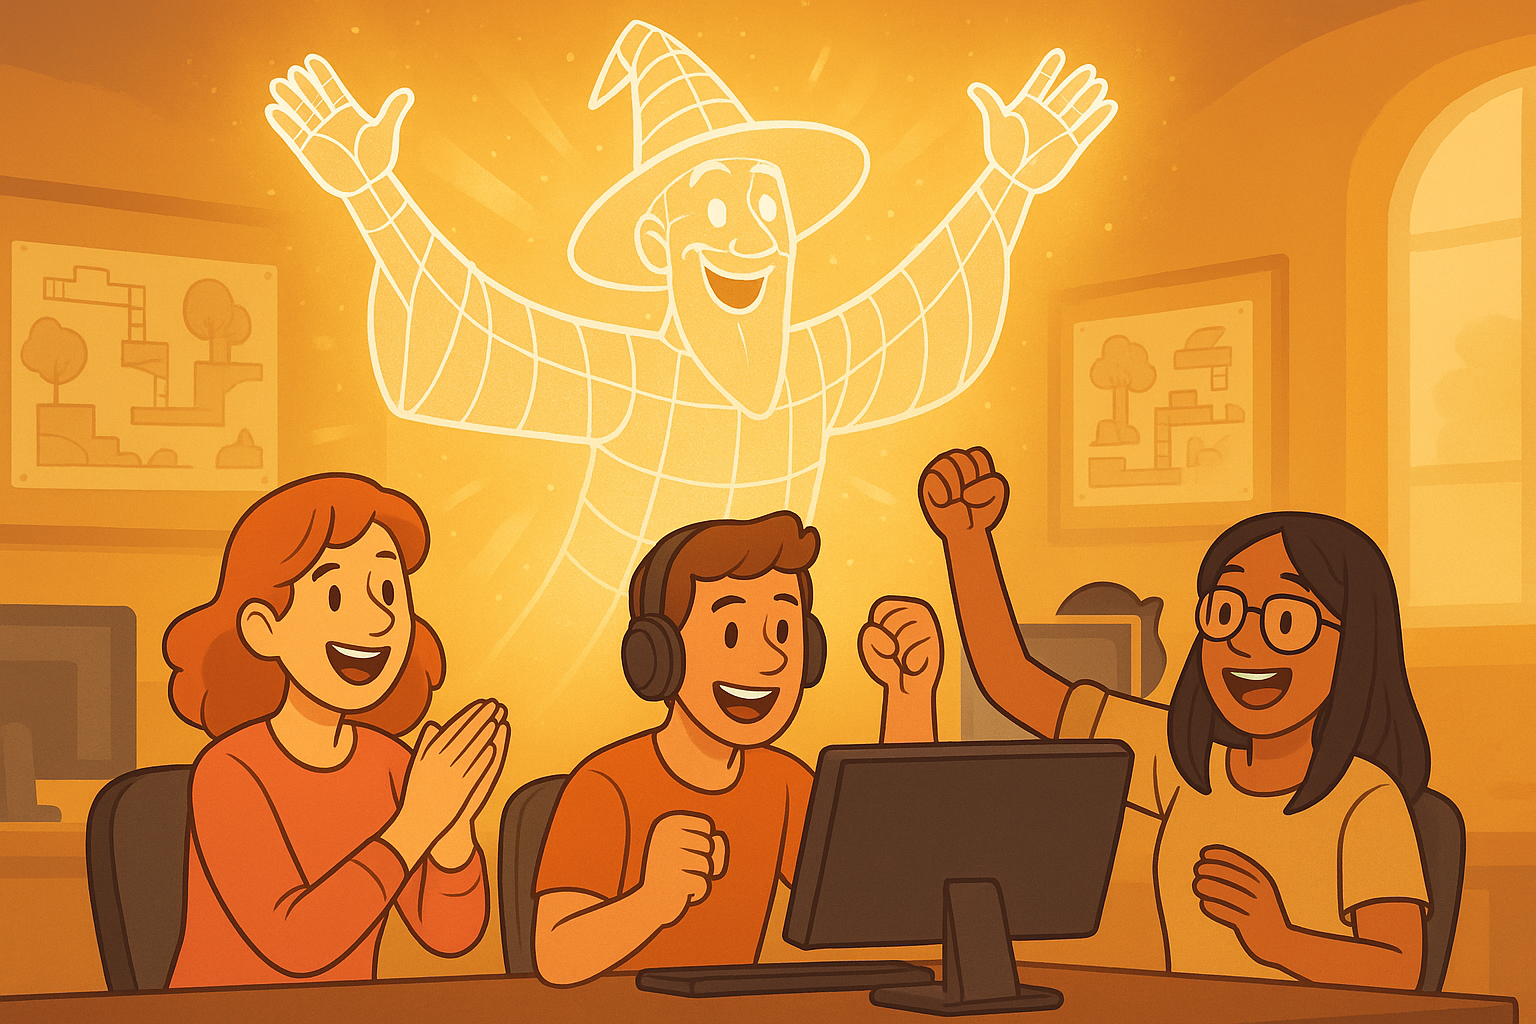
If you made it here, give yourself a pat on the back. Whether you were designing a complete game pitch, a single mechanic, a content update, a story, etc., I hope that you can follow these steps to get this far. At this point, you'll likely be handing the design over to the development team to implement and that they're excited to get started!
Give your team flexibility where they want it—magic can occur anywhere in the process. Some team members will want step‑by‑step instructions covering every possible detail and edge case; others might want a high‑level goal they can disappear with and then come back with results. Play the game every day and cheer the team on.
Step 10: Listen and Learn
Finally, while the team is working on the game, you'll probably find yourself answering a lot of questions and solving unexpected edge cases that pop up. Be ready to answer, and carefully consider any changes that might need to be made along the way. You'll have to balance knowing when things are good enough versus when to iterate on a feature. Get player feedback as soon as you can, collect some data, and learn from your mistakes.
I hope that these steps help guide you in your own creation process. Don't think of them as a rigid process you must follow, but instead as evolving ideas you can pick and choose from in ways that help you and your team to succeed.
Comments ()